
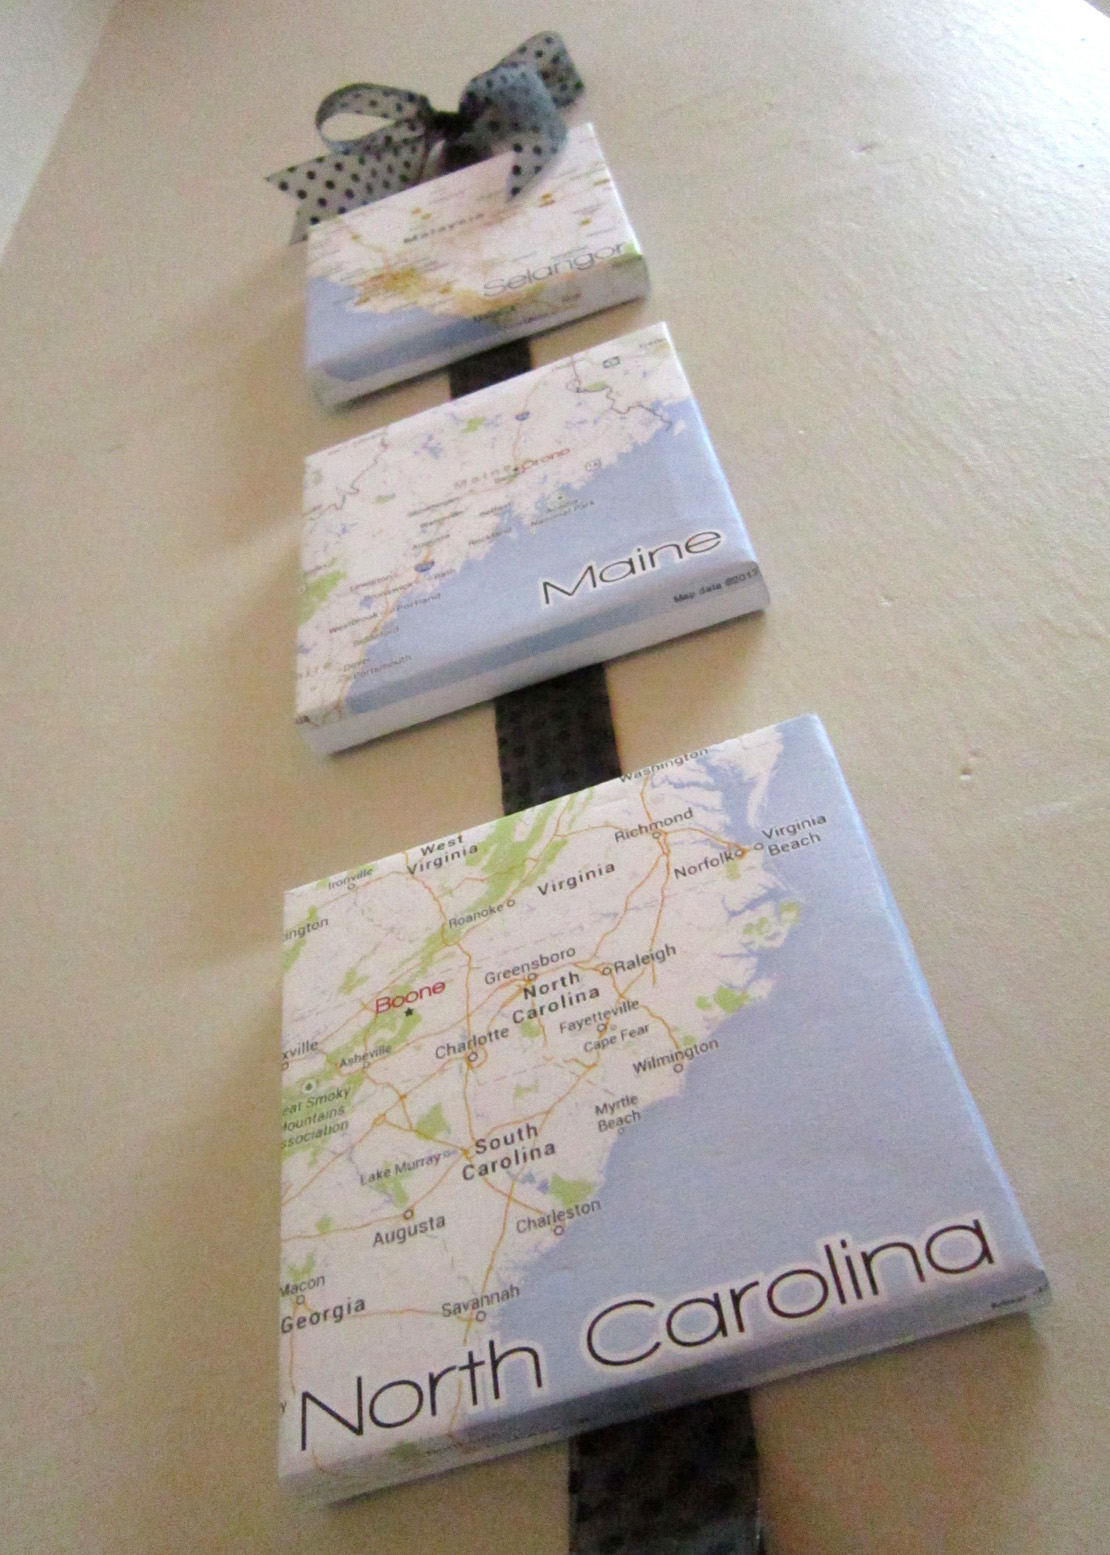
In case you weren't aware already, I've been in the process of redesigning my parents' great room. You know, the whole big thing. New paint, new furniture, new accessories, pictures on the wall, etc. It's almost done and I will have a whole blog post dedicated to it. This post, however, is dedicated to this cute little custom deco I made:

Why maps? You ask. Well, the concept for my whole redesign is connection. (More on that in the later post.) And those locations are where all us family members are located. It ties back in with the concept, I promise. ;) Here's the steps to create a similar deco but custom made to fit your needs:

Supplies Needed:
A sheet of Form Core (I couldn't find that in Malaysia, so foam from Popular - RM4.70 per sheet - will have to do!) Make sure its large enough for the pieces you want cut out of it!
A xacto knife (Again, I'm in a foreign country and all my supplies aren't with me so I used a very sharp small kitchen knife and sharpened it very often!)
A cutting board or a huge stack of newspaper!
Your printed out maps - more on how I made these below.
Ribbon (I got mine from Popular for RM6.90)
Scissors
Glue, Tape, or some form of adhesive (Rubber cement would work great!)
To make your maps:
I simply went on Google Maps, found my location and zoomed in until I was happy with it and then took a screenshot. I then opened this image in Photoshop and played around with the Filter options until I found one I liked. (Filter > Texture > Texturized) This gives the image a canvas printed look. Once I was finished Photoshopping the image, I pulled it into an InDesign file, setting the paper size as the normal letter size (A4 - 8.5"x11"). Zoom and let the frame crop your image as desired. I also inserted an empty rectangular frame at the size of 6" x 6" to see where exactly my borders would be. You do not want to print the maps the exact size of the foam core, you want map to cover the edges when you wrap the paper around. Once this is completed, use InDesign's text tool to write the name of the location on the map and also as a title as desired. You are now ready to print.
With all your supplies at hand, you are now ready to start!

1) Cut the form core to the desired size. I decided on three 6"x6" squares so I drew those squares onto the foam and then double checked that it was actually square by using the diagonal rule. The diagonal rule is that if both diagonals are equal in length, it is an exact square with every corner at 90 degrees. If you have a triangle ruler around, I would use that as well to make sure each corner is exactly 90 degrees. When you are sure of your lines, you are ready to cut. Don't worry too much if the edges are jagged, it is tough cutting foam, but the edges will not show as we are wrapping the paper maps around them.

The trick when cutting foam/foam core is to not cut it all in one stroke. In fact, depending on how thick the foam is, I would suggest three or more strokes to make one cut in the foam. Use your first stroke to make a groove, your second to define that groove even more, and your third (or final if more than three strokes are needed) to actually cut the form all the way through.
2) Now you have your three foam core squares you are ready to wrap the maps around them. Place the foam square behind one of your paper maps and align them up as desired. Then trace the square contour on the back of the paper. Then draw a border around the square you drew, giving it at least an inch extra, thus your square will measure around 8"x 8" now. Then cut the corners out as such:


(Sorry for the horrible resolution. Blogger takes the picture and throws resolution down the drain.)
1 comment:
Omomom, good idea :) I`ll try to the sth like that :) Follow for follow? :)
Post a Comment